1. THE KATNISS BRAID
Begin by parting her hair on the side. This part is on the left side.
Begin french braiding on the side with the part, Let the part be your guide because the braid should be parallel to the part. ( For instructions on French braiding see The Elsa Braid. Lets Start at the Very Beginning....of French Braiding)
Make sure that you alternate grabbing hair from the top and the bottom until all of the hair is pulled up on that side.
At this point you turn it to a diagonal moving down across the back of the head.
Grab a piece from the bottom.
Then grab a piece from the top/front on the other side of the part.
Continue alternating by grabbing hair from the bottom and from the front until all of the hair is braided in.
The french braid should end behind her opposite ear. In this picture it is her right ear.
Do a regular braid the rest of the way and add a hair band.
I usually do this one tight because it will loosen during the day.
2. THE KATNISS INTO A BRAID BUN
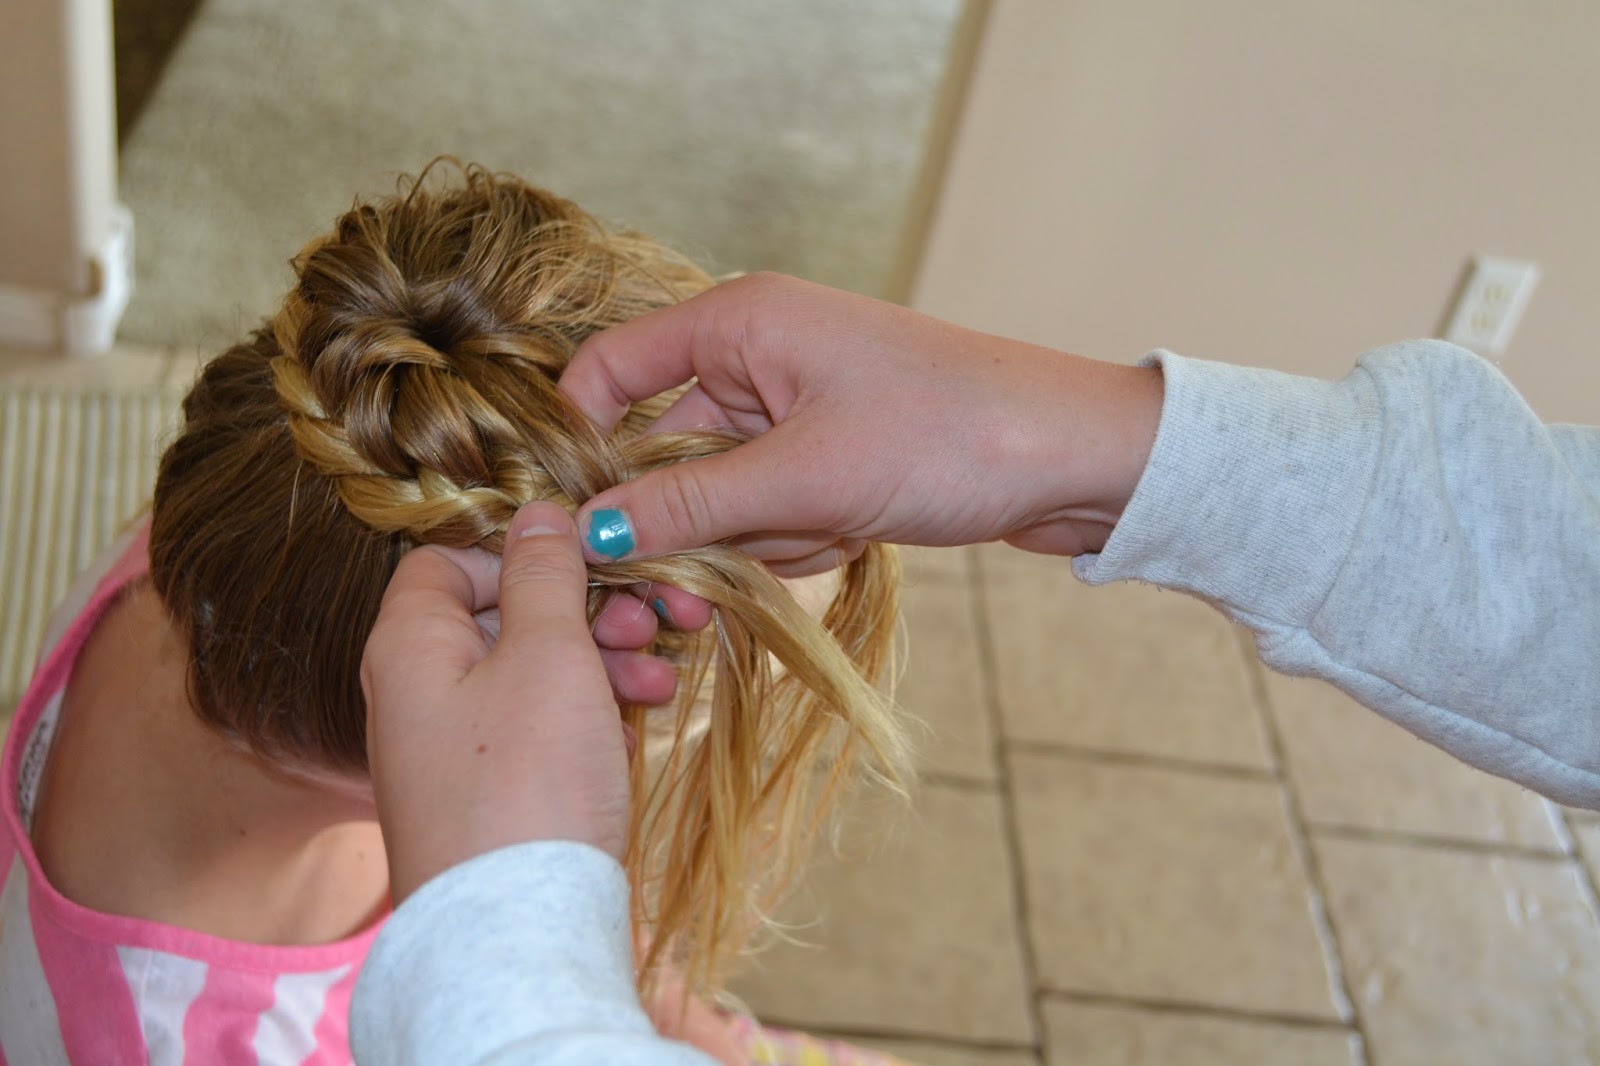
Pull the braid up over her ear.
Wrap around tucking the end underneath.
Use hair band to secure.
Add bobby pins for extra support.
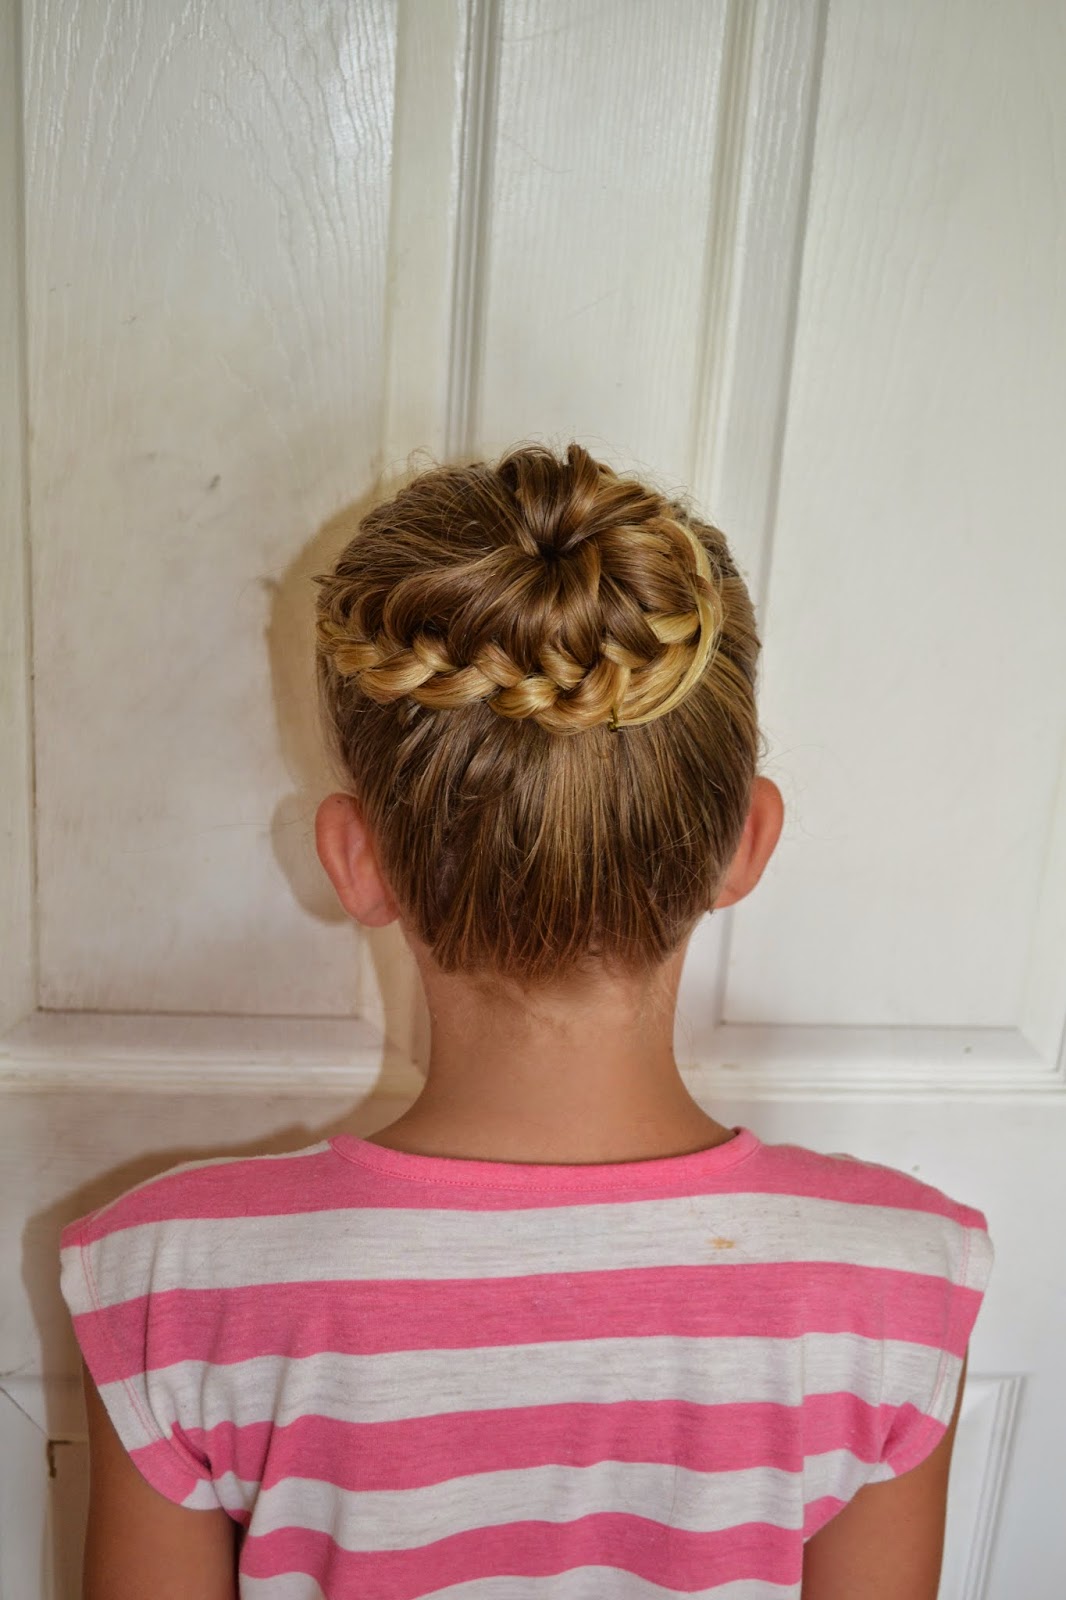
The finished product.
3. THE KATNISS WITH A MESSY BUN
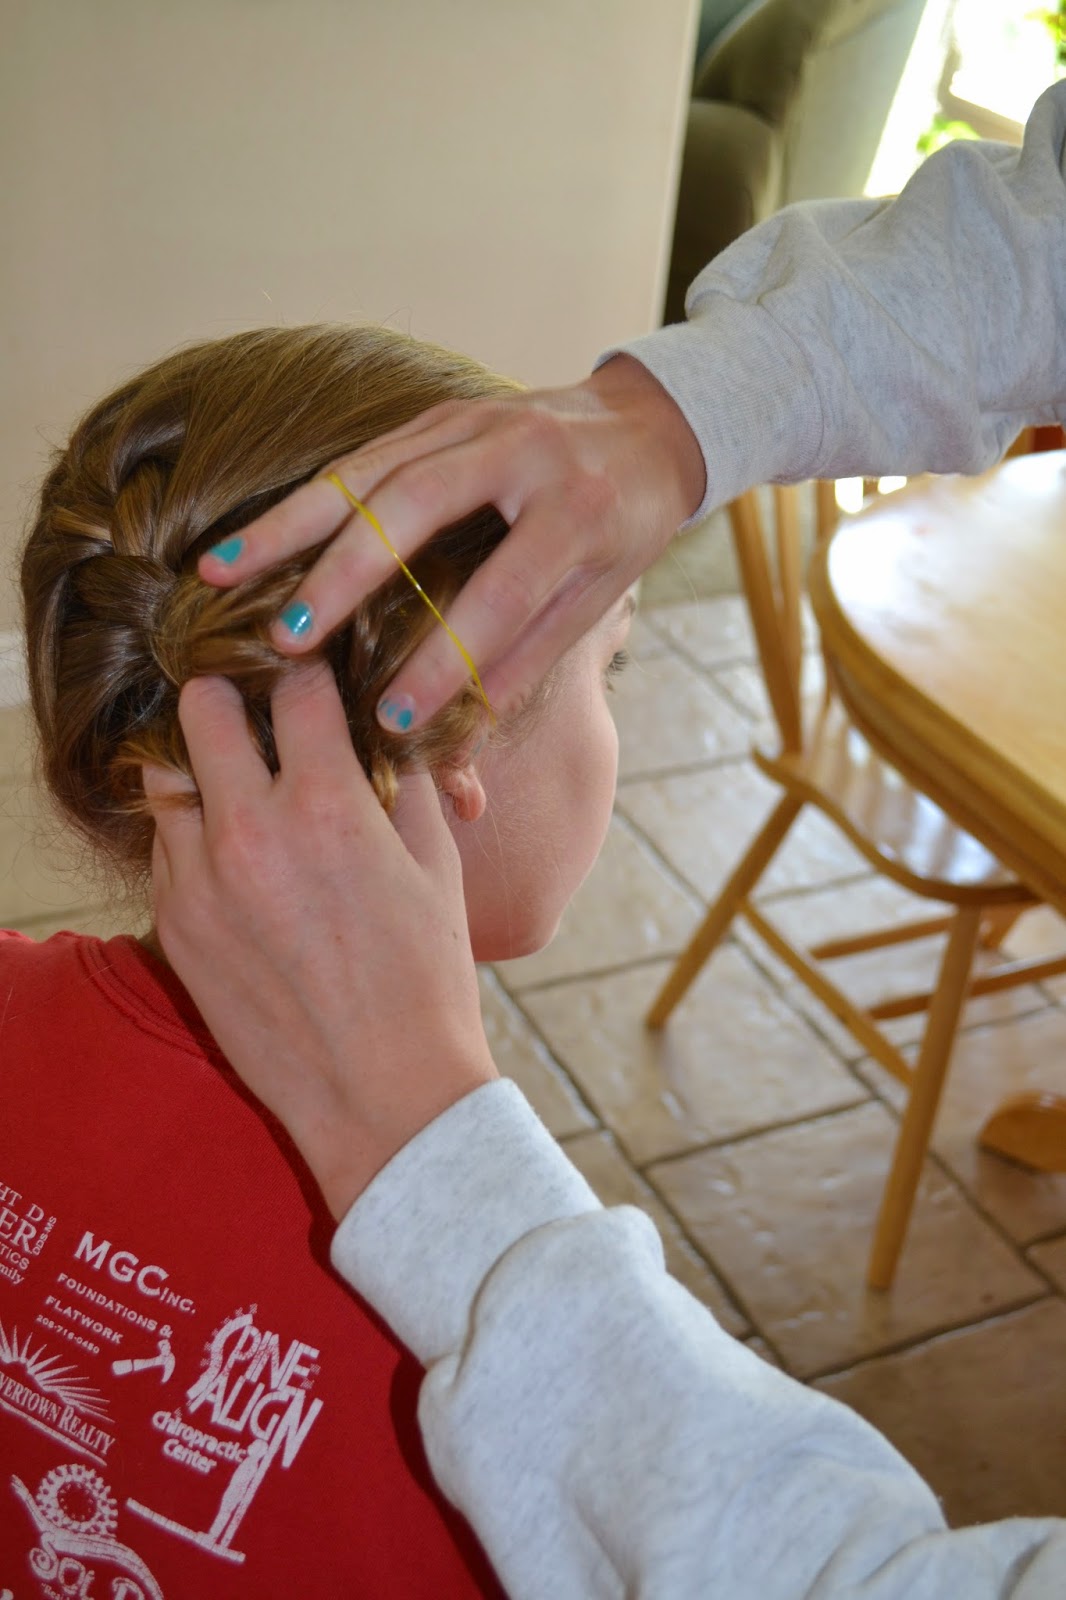
Take the braid and add an ouchless elastic to the end of the french braided part, right behind the ear.
Wrap it around once and then let the braid out so you have a ponytail.
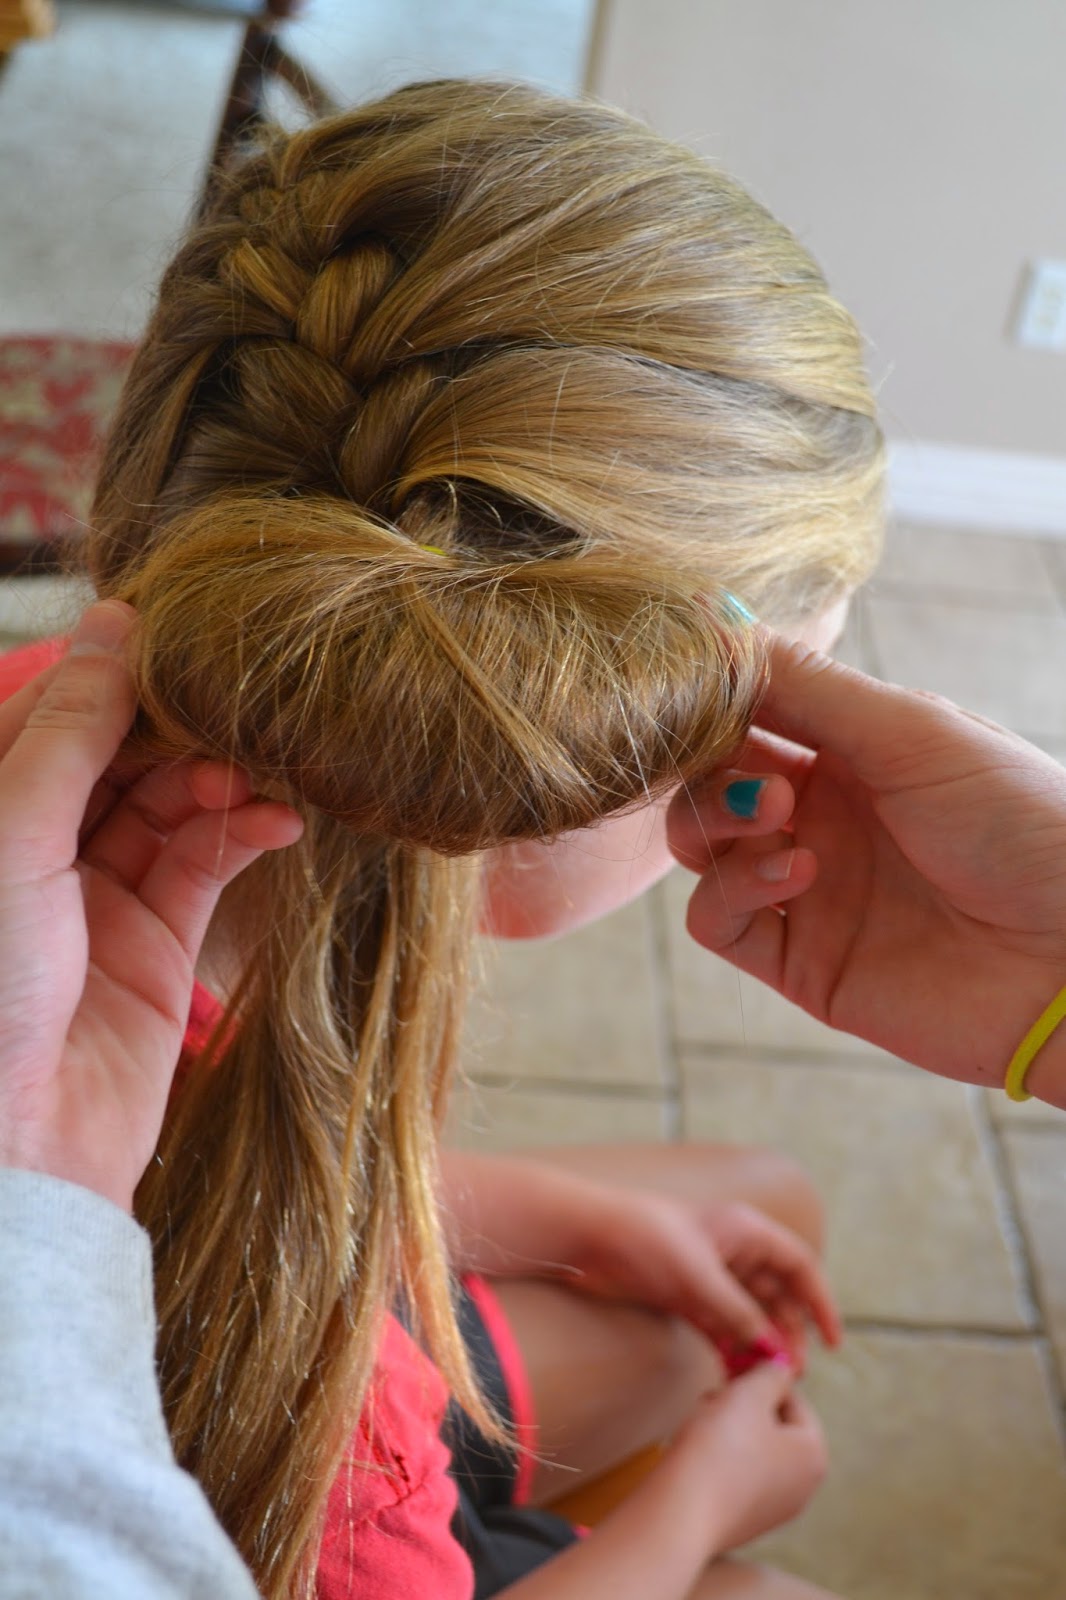
On the second wrap of the elastic, only pull it half way to make a floppy bun with half of the hair.
Pull the hair from the bun out and around.
Take the remaining hair that is hanging and pull it up, around and down into the elastic under the first loop like the floppy bun (See Two Fast and Easy Hairstyles for long hair)
If you have longer hair, pull the ends through and make one last loop with the ends.
Pull the hair out and around to make it bigger on the bottom as well.
Add another ouchless elastic as you scrunch the bun. It will go half way through both big buns vertically.
Add two or more ouchless elastic going across horizontally or diagonally or both until it looks how you like it.
Arrange some of the pieces to desired places.
Secure with pins.
Finally add an elastic to keep the base strong.
Arrange a little bit more and hairspray.
The final product.