The waterfall braid has always been a favorite. When I first learned how to do it, I noticed that many of the sites rarely showed how to end it. So I will show how to do the waterfall braid and then give four options for ending it. I may revisit this one for more details later.
I usually start this braid on the side opposite of the part. If you part in the middle, then start on either side.
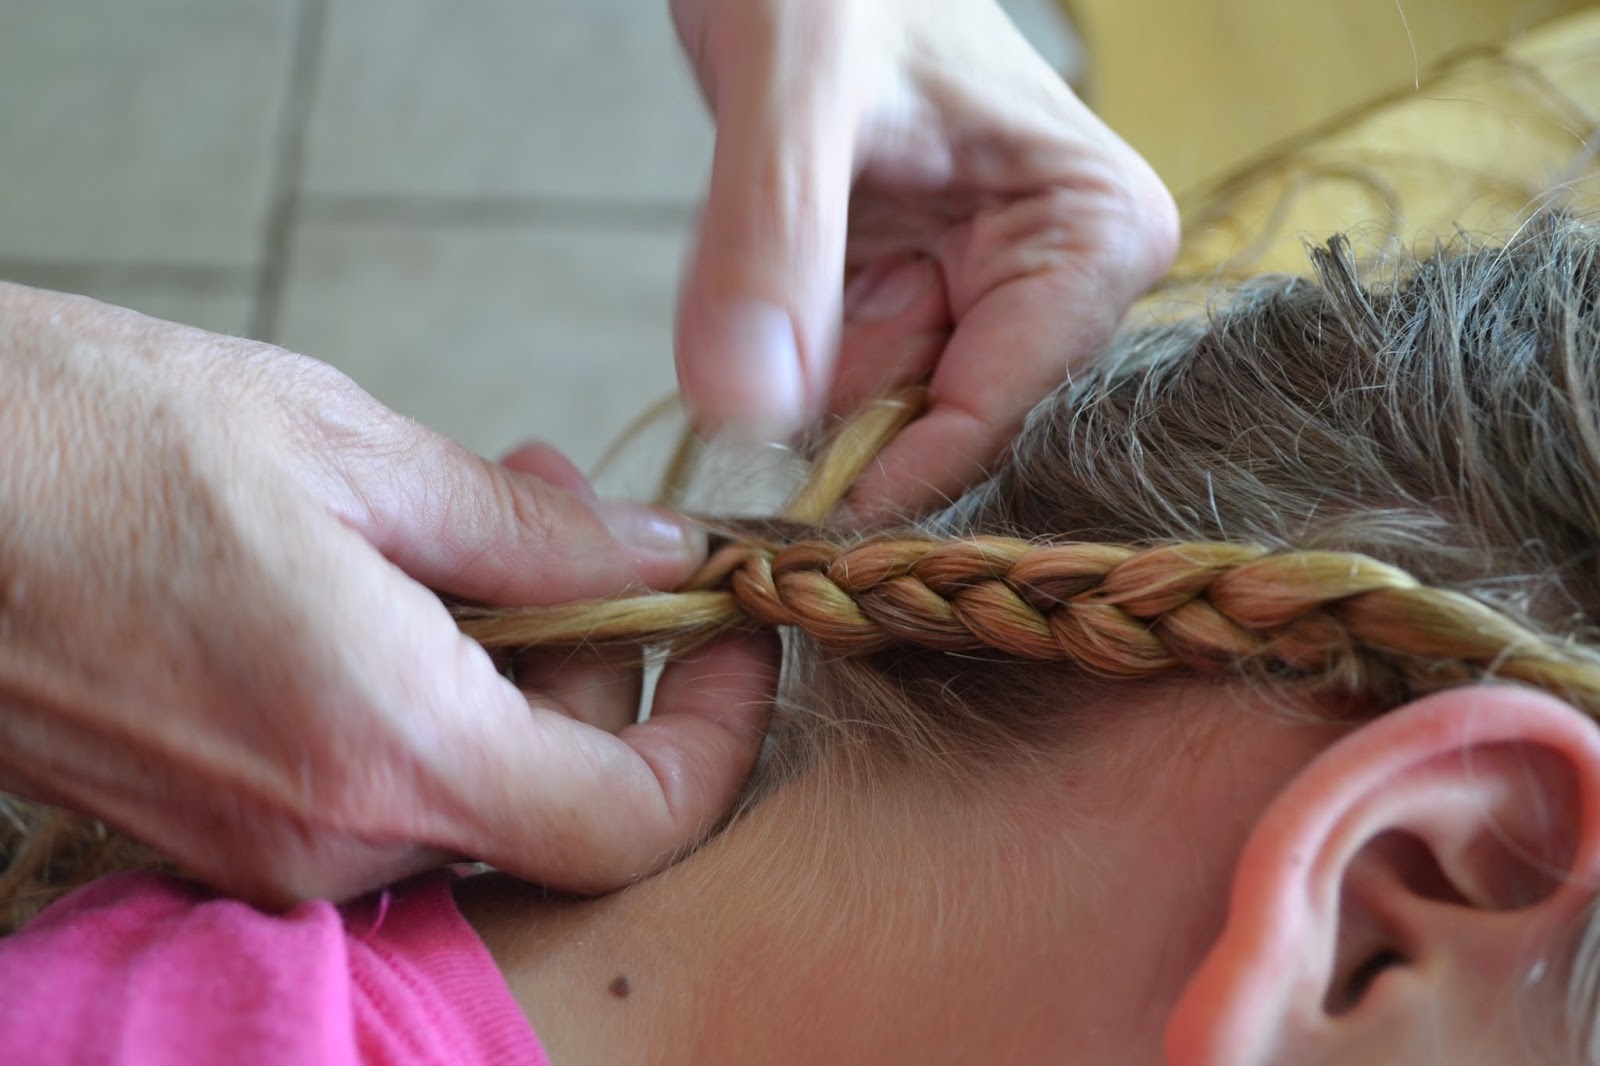
This will feel like a french braid at first.
When you are about to grab hair to add to your braid from the bottom, you drop a complete piece instead. The piece that I am holding in the picture I will lay down. Then go under that piece and grab a new piece from beneath.
The piece that I just grabbed from under is usually not as big as the one I dropped, but try to match the size as much as you can.
Then add it to the braid.
Then add hair from the top like a french braid.
Drop the piece and grab a new piece from under the newly dropped one.
Add hair to your braid from the top, then drop a piece and grab from under the dropped piece.
Grabbing from underneath is what keeps it firm.
Keep braiding across the back of the head until you get near the other side.
Braid it like normal part way down to secure it.
(This could also be your first ending. Just braid it to the end and call it good.)
Then start on the left or opposite side with the waterfall braid, dropping one piece, grabbing a new piece from underneath and adding hair from the top like a french braid.
When you get close to the other braid, you will combine them with a twist after you remove the elastic.
The twist is explained in 1,2,3,4,5 Fast and Easy Hairdos for School 4. Double Braid Accent Pigtail Twist.
Using one braid as one piece and the other as the second piece, you twist both pieces to the right tightly, while pulling the right side over the left loosely . Keep twisting both pieces right while pulling the right side over the left. When you get to the end put on an ouch-less elastic on.
This may also be done on one side only, just divide the braid ponytail into two and twist it until the end.
Combining both braids and braiding it until the end is another option.
This last option takes longer, but has more of a formal appearance for a special occasion.
Instead of waterfall braiding across the back of the head, stop toward the middle of the back of the head. Pin it to secure it for now on the right side.
Do the same thing coming from the other(left) side so there will be a strip of hair not braided right down the middle.
Pull the two braids across from each other. In this picture the left braid is over the right.
Pin that braid as well.
Add more pins on each side, but underneath, so they don't show.
If you want this to feel more secure, add ouchless elastics to the two braid ends, not right up against the head, but just to help you work with the braids.
Cross them and secure with bobby pins.
Cross them underneath with some coming from the top and some coming from the bottom.
Break the elastics.
Always hairspray liberally when doing the waterfall braid.