Tuesday, August 26, 2014

1,2,3,4,5 Fast and Easy Hairdos for School


Over the years I have really learned a lot from my neighbor Amberly.  Her kids always look darling and their hair looks superb.  Needless to say, I really needed her expertise for this next part.

The materials that Amberly uses are the spray bottle, rat-tail comb, hair bands, which she calls ponies and the ouchless elastics.  She prefers "Goody" brand.  These hairdos are fast and easy.  This first one is probably her go-to when she is in the biggest hurry.  She has another super fast one that I will show later.


1.  ACCENT BRAID

Begin by spraying it down pretty good.  Amberly sprays down with almost every hairdo.  

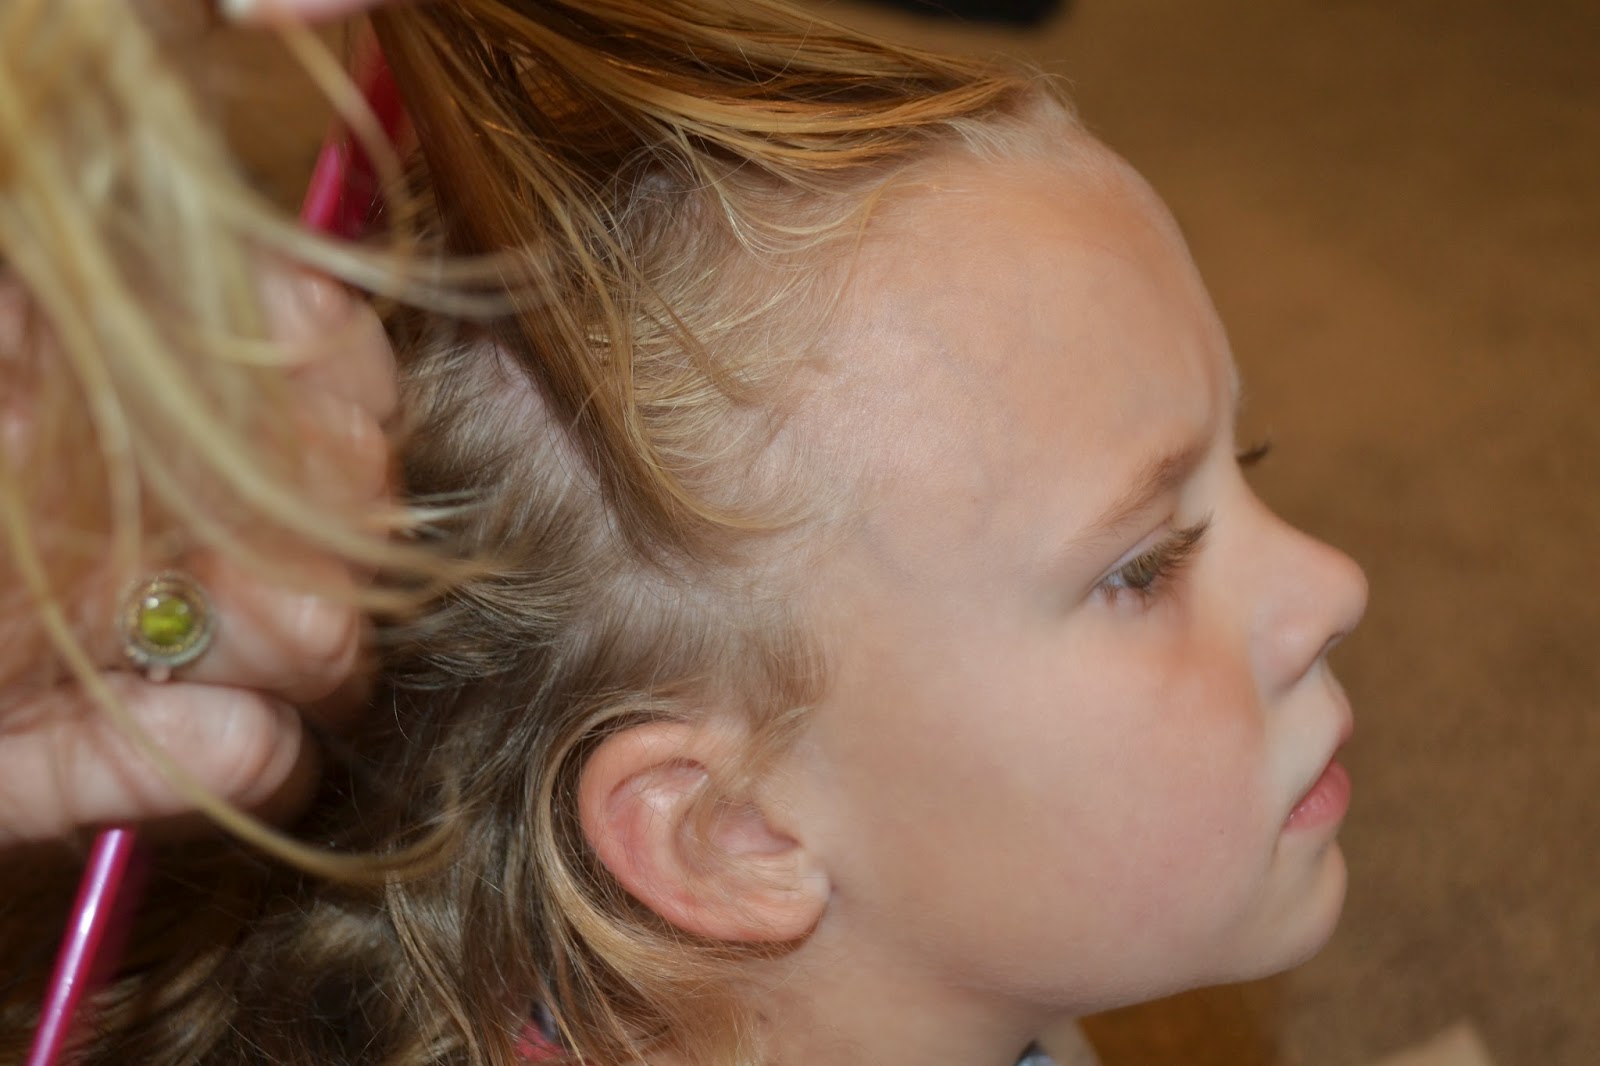
Do an off set part.  This offset part is from the right side back slighly at a diagonal.

Next she parts right above the ear at a diagonal going up.


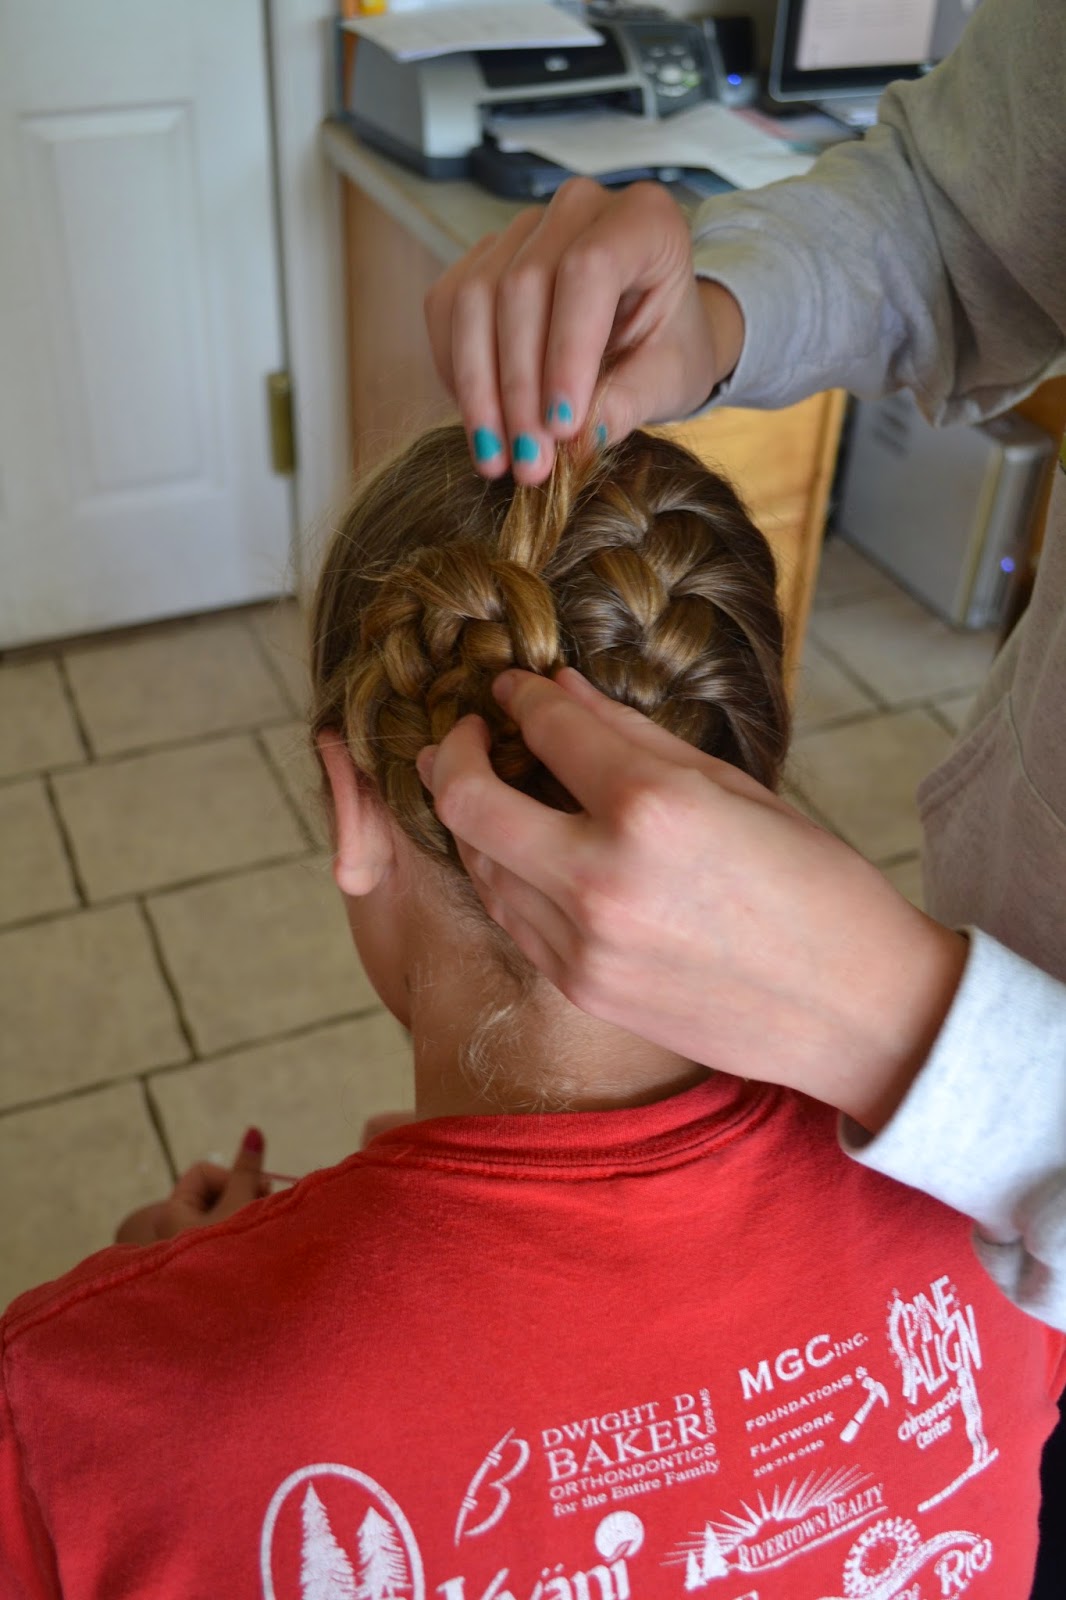
Smooth it back and begin the braid pulling away from the face.

Braid it to the end and use the ouchless elastic.
Flip the braid forward while you comb and smooth the rest of the hair into a pony tail.


Add the accent braid.

Put hair band in and either leave the braid in or take the braid out for a more finished look.


4
2. DOUBLE ACCENT BRAID

Start with spraying and the offset part.  The offset part is really key to this looking right. 
Then hold your comb in the middle of her head and make a straight part behind the offset part.


Make a part from the middle part on top of her head to her ear. 


Smooth and braid like before with an ouchless elastic at the end.

Repeat on the other side.
Part from the middle of her head to her ear.


Smooth and braid.  Add small ouchless elastic to the end.
Flip both braids forward.

Smooth into a high or low. 

Add each braid one at a time while holding the pony tail with your hand.
Add the hair band.
Leave braids in or take them out for the finish. 
Kenra is Amberly's preferred  hair spray.


3. DOUBLE ACCENT BRAID WITH PIG TAILS

This hairdo uses medium sized ouchless elastics.
Go back to when the braid were flipped forward.
Make a part following the one on top but all the way down to the neck.
Take one side and hold it in a low ponytail while you smooth.
Add the accent braid.
Put on the ouchless elastic.
Repeat on the other side.


4. DOUBLE BRAID ACCENT PIGTAIL TWIST

Take one pigtail and separate it in two. 
Twist both pieces to the right tightly while pulling the right side over the left
Keep twisting both pieces right while moving the right piece over the left. 
You do have to switch and grab.
Keep twisting right  and then right piece over left until

Add small ouchless elastics to the end.

5.  DOUBLE ACCENT BRAID PIGTAIL BUNS

Wrap the twist around the pigtail and add ouchless elastic.    Use one or more elastics to secure the bun.  Wrapping it to the left usually works the best.


Wednesday, August 20, 2014

The Elsa Braid. Let's Start at the Very Beginning... of French Braiding.


If you already know how to french braid, then skip down to when her braid is complete.

1. The Elsa Braid

To start you divide the hair into three pieces starting at the bang area.  One of the reasons french braiding is difficult for some people is because they may not realize that you use all of your fingers to do this job.   So the right piece is held with the right index( pointer) finger and thumb.  The left piece is held with the left index finger and the thumb.  The middle piece is held with the right and left middle finger.  You braid like normal right over left and left over right once.

 While holding the left and middle pieces with your left index finger and thumb, you grab hair from the front right with your middle finger while holding onto the right piece
 with your thumb, pinky and ring finger. (This part is crucial to learn because you do this on the left and then go back and forth.  So if you can get this you got it.)


 Once the piece that you just grabbed is combined with the old right piece, braid right over left. Then repeat on the left.  If you want to brush the piece that you grabbed, then hold all of the pieces with your left hand.   The pieces are divided by the index, middle and ring finger.

 Next you hold the right and middle pieces in place with your right index finger and thumb.  You grab the next piece on the left from the front with your middle finger and pull it back to combine with your existing piece. Then it's braid like normal with left over right.

 Then repeat with or without combing or brushing as you go.
  Here is the finished product.  If you want this to look a little more Elsa, then start further back on her head or rat at the crown before you start and do it a little looser.
2.  Side Braided Bun

 This braid bun looks kind of like a flower and is very fast.  Annalisa wears this hair style a lot and does it on herself.  Whenever you see colored nails you know it's Annalisa doing the hair.
 It looks the best on the left.  So pull the braid up onto the left side and pull it around in a circle.
 Use a few pins to hold in place while you work it leaving the end out.

 Fold the end under and leave the end sticking out still. Pin a few more areas.

 The only downfall of the hair style is all the pins, but they are worth it.


 When if feels completely secure, tuck the end in and pin. 
 
The finished product
.

Saturday, August 9, 2014

Three Fast and Easy Hairstyles For Long Hair.

1. Ballerina Bun

Sometimes, we need a style that looks like their hair was done, but only takes a few minutes.  The first one is the basic bun without bobby pins.  This is done by pulling her hair back  in a high pony tail.  Because we have a lot of fuzziness in our family, we usually hairspray as we go.  If you wet down that helps also.  Then you twist the pony tail as tight as you can and wrap it around the hair band.  Then you take another hair band and secure  the bun.  It's OK if it shows like a messy bun.  The ends can be tucked in or left out, whichever you prefer.

Anna did this hairstyle.  She added a ribbon.  This ribbon was too short, so she bobby pinned it on instead of tying it around the bun.

2.  Side Ponytail

The next quicky is the side ponytail.  We do this one a lot.  You start by brushing all of the hair on the opposite side of the part a little above and behind the ear.  Smooth and hair spray as you go.
Use a hair band to make the ponytail.


 After the elastic is secure, then add a flower, bow or ribbon.  With the flower we usually put it more on the top front of the hair band.  I really was in a hurry on this one hence the unmatching hair band.

3.  Side Floppy Bun

 To make it cuter, dressier or more finished, we do a loop with the first half of the hair.  This is done after the first two twists of the hair band.  Then on the third one, or second depending on how thick your child's hair is, just go half way and don't pull all of the hair through. 
 Then take the hanging hair and loop it up, not under and connect it to the hair band with the ends tucked inside the loop.  Because my children have pretty long hair, I usually loop the ends up around into a third bun. 


      This ends up looking nice without a lot of effort.  So, if you see Livvy with this hairstyle a lot, you know I'm busy.  Side pony tails are way faster than regular with long hair because they have less bumps to start with.