Thursday, May 14, 2015

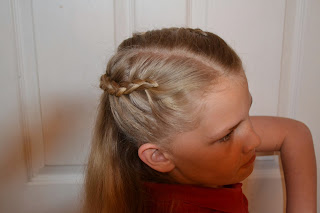
The Faux Braid. ( This is an easy hair style for layered hair)


To start off with this style was created by my niece Erin.  She recommends starting with wet hair.  If not, then spray liberally with the water bottle.
Brush her hair out. 
However you part your hair is how you begin.  Emma parts her hair on the left side.
You start out with two sections of hair. 
So the top section is as if you are pulling her hair back just above the ears and leaving the bottom section down.
Put it in a low ponytail.


The bottom section is also put into a lower ponytail.  Try to make the top and bottom ponytails have equal amounts of hair.


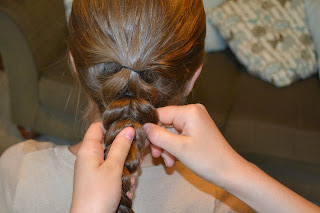
This is where the fun begins.  Take the top ponytail and separate it into two equal sections.


Pull the bottom ponytail up through the divided sections.
Emma held it while Erin continued.
She sprayed a little more. 
Then took the divided sections and added an elastic to secure the new ponytail.


Bring the hair down from the top of Emma's head and divide that ponytail.
Pull the bottom ponytail up and out of the way held by Emma.

Add another elastic.

Whenever you add an elastic, be sure to tighten it by pulling beneath the elastic like you would normally do.
Drop the top piece and divide it.  Pull the bottom ponytail up and have Emma hold it. Continue on.
As you get closer to the end you may need an extra hand.  I am holding this one.


When you get to as long as you want it to be, add an elastic.  The last part does not have two parts to it.

To make it full pull the hair out on each side of each section.
It works easily because each section has it's own elastic. 


Keep pulling until desired fullness.  Try to make it look even.
To make it look wider pull to the right and left of each section to flatten it a little.  

When it looks how you like then you're done.


Thursday, May 7, 2015

Dressing Up an Easy Hairdo


Brush and spray the hair to start.

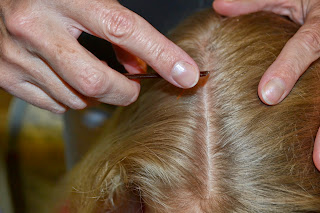
Part it how you like. Livvy always looks best with a side part.  This part is on the right side.


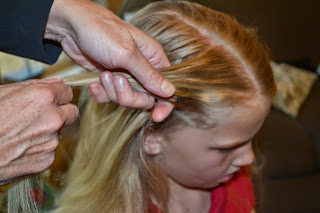
I start on the right and pull enough hair to start a braid.
Instead of braiding like normal you do a dutch braid. 
When you do a basic braid you always pull each piece over the other.
With a dutch braid you do the opposite.  You pull the pieces under so the braid looks like it is sitting on top. 
Keep going under the braid on each side.
You want the braid to sit about 1 1/2 half to 2 inches below the part.
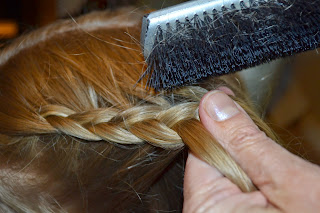
Then you add hair as you go back like a french braid, but still pull the pieces under each other.


Once I get to about an inch behind her ear, I don't add pieces and continue to braid like normal except pulling pieces under instead of over. 

Add an elastic.

Repeat  on the left side.  Now you want the two braids to be sitting at about the same place on each side of the head.  So start you braid further from the part.  Just picture an imaginary part as if it were on the left  side and start your braid below that.

Remember to pull the pieces under instead of over as you add hair.


Brush as you go just like you do in french braiding.

When I get to about an inch behind the ear, I quit adding hair and finish the braid.


Add an elastic. 
As you can see the dutch braid looks fuller instead of flat like the basic braid.
Pick up the two braids and pull them together into a V.
Add an elastic. I usually have Liv hold her hair down or out of the way, so I don't pick up hair underneath as I put the elastic on.  
Take out the elastics on the ends of the two braids.
 Undo the braids.

Brush it out.
Add a ribbon or clip to make it look nice. 

I like to do this one for church or special occasions and I usually curl it as well.