
If you already know how to french braid, then skip down to when her braid is complete.
1. The Elsa Braid
To start you divide the hair into three pieces starting at the bang area. One of the reasons french braiding is difficult for some people is because they may not realize that you use all of your fingers to do this job. So the right piece is held with the right index( pointer) finger and thumb. The left piece is held with the left index finger and the thumb. The middle piece is held with the right and left middle finger. You braid like normal right over left and left over right once.
While holding the left and middle pieces with your left index finger and thumb, you grab hair from the front right with your middle finger while holding onto the right piece
with your thumb, pinky and ring finger. (This part is crucial to learn because you do this on the left and then go back and forth. So if you can get this you got it.)
Once the piece that you just grabbed is combined with the old right piece, braid right over left. Then repeat on the left. If you want to brush the piece that you grabbed, then hold all of the pieces with your left hand. The pieces are divided by the index, middle and ring finger.
Next you hold the right and middle pieces in place with your right index finger and thumb. You grab the next piece on the left from the front with your middle finger and pull it back to combine with your existing piece. Then it's braid like normal with left over right.
Then repeat with or without combing or brushing as you go.
Here is the finished product. If you want this to look a little more Elsa, then start further back on her head or rat at the crown before you start and do it a little looser.
2. Side Braided Bun
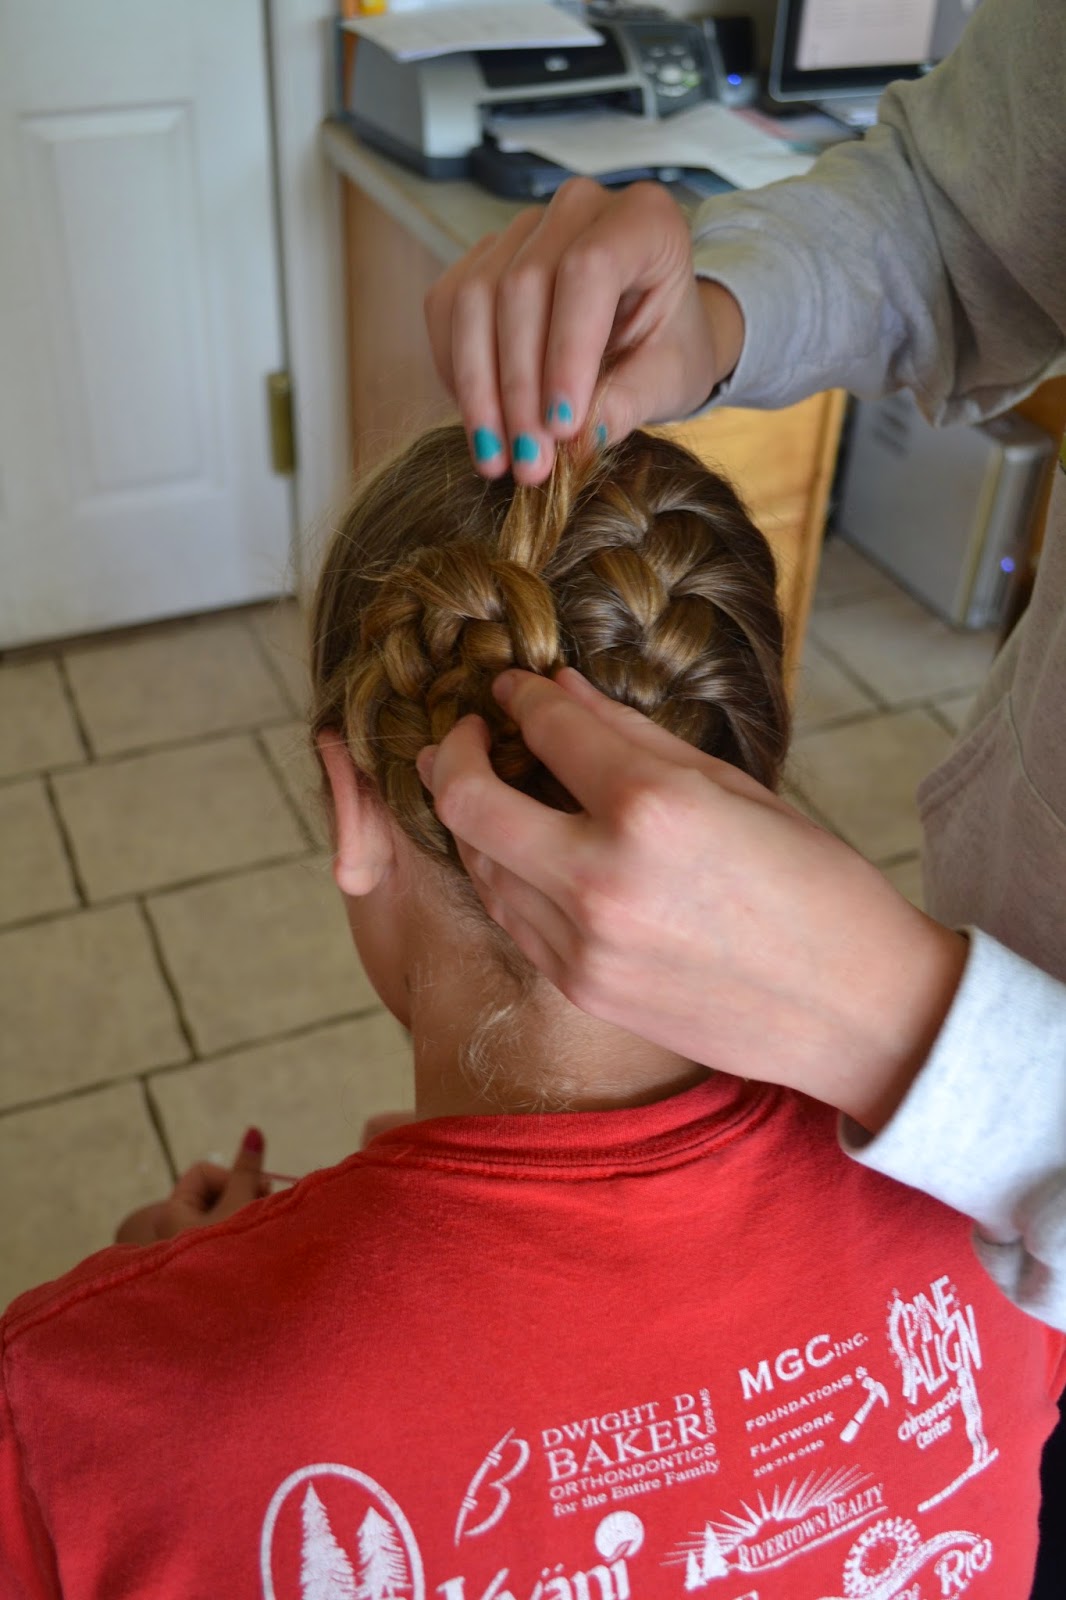
This braid bun looks kind of like a flower and is very fast. Annalisa wears this hair style a lot and does it on herself. Whenever you see colored nails you know it's Annalisa doing the hair.
It looks the best on the left. So pull the braid up onto the left side and pull it around in a circle.
Use a few pins to hold in place while you work it leaving the end out.
Fold the end under and leave the end sticking out still. Pin a few more areas.
The only downfall of the hair style is all the pins, but they are worth it.
When if feels completely secure, tuck the end in and pin.
The finished product
.


